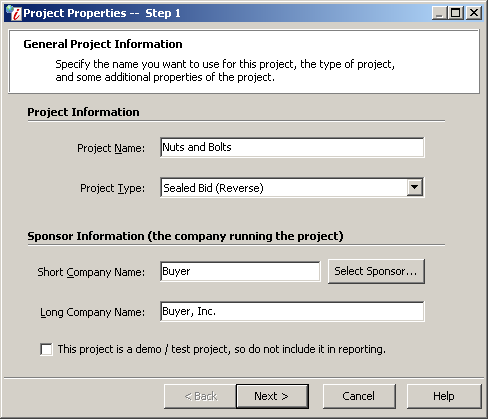
Iasta SmartSource provides wizards with individual pages for setting up and editing various elements of projects.
»To create a new project
- In the Sourcing workspace, select Administration > New Project or point to any item below the subdomain branch of the Connections and Projects tree in the left pane and right click and then select "New Project." You can also click Create Project on the toolbar.
- Iasta SmartSource opens the initial page of the New Project wizard. Click Next to open the General Project Information page. Continue using the Back and Next buttons to navigate through the pages of the New Project wizard. Click the Help button on each page to find out more information about fields on that page.
»To edit an existing project
You can edit an existing project using the Project Properties wizard (or by accessing the different parts of a project using the corresponding buttons on the toolbar).
- Select and expand the project in the Connections and Projects tree.
- Click
 Edit Project on the toolbar to open the Project Properties wizard.

Project Properties Wizard
Only one user can edit a project's details at a time. Project Administrators cannot edit project details if they are already being edited by someone else, but they can open the Project Properties wizard in read-only mode. If a Subdomain Administrator attempts to edit an existing project, the following warning appears:

The Subdomain Administrator can:
- Take Ownership: Break the lock and open the Project Properties wizard in edit mode. If a Subdomain Administrator takes ownership of an open project, the original user will not be able to save his or her changes.
- Cancel: Closes the message window without opening the Project Properties wizard.
- Read-Only: Open the Project Properties wizard in read-only mode
- Use the Back and Next buttons to navigate through the pages of the wizard. Click the Help button on individual pages to get more information about fields on those pages. When you are through making changes, click Next until you reach the end of the wizard, then click Finish.
NOTE: If you do not see your saved modifications immediately, click on the toolbar. This will refresh the data from the server and display your changes.