»To create a document
- Select and expand the project in the Connections and Projects tree.
- Click
 on the toolbar to open the Document Library window.
 - From the Categories tree, select a document template. The right pane displays the detailed information about the selected template.
- Click Finish to go to the Document Properties window.
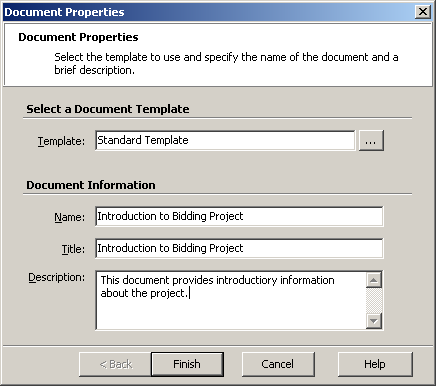
Document Properties Window
Enter information in the following fields to configure the new document:
- Template: Select a template for the document. Iasta SmartSource provides a default, standard template but Iasta SmartSource users can create their own templates. Click the
 button to the right of the field to select a different template. You must base a new document on a template. The document is created with the set of sections and questions from the template but you can add, edit, and remove sections and questions.
 - Name: Enter a document name. This name appears in the Connections and Projects tree as well as the link to the document from the Documents section of the Project Detail page.
- Title: Enter the document title. This text appears inside the actual document wherever the Document Title variable is used.
- Description: Enter a description of the document. This text appears along with the document name in the Documents section of the Project Detail page.
- Click Finish to open the Document Editor window.
- Edit the document by selecting sections in the left pane and entering or modifying text in the right pane. For information on how to use the Document Editor window, see Using the Document Editor. You can click
 on the toolbar to check for spelling and typographical errors.
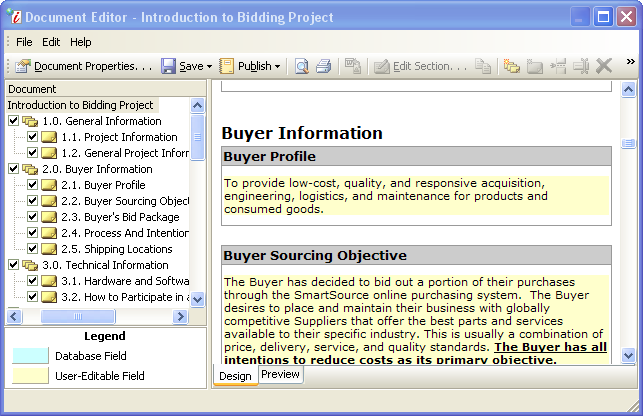
Document Editor Window
- When you are finished editing the document, click
 on the toolbar and select one of the following:
- Save Document: Save changes and exit the Document Editor. The document name and description appear in the Connections and Projects tree and the project detail window, but users cannot access it unless it has been published. The status of unpublished documents appears in bold red type on document lists.
- Save Template: This option saves changes and overwrites the previously saved version of the template in the Document Library.
- Save Template As: Saves your changes in a new template in the Document Library and prompts you to enter a name for the template.
- Other project attendees cannot see the document until you publish it. Unpublished documents are only available to project owners and project administrators. When you are ready to make the document available to others, click
 on the toolbar and select one of the following options:
- Publish to Spectators (editable): Generate a PDF file that is only accessible to administrators and spectators. You can edit the document, save it, and "Publish to Spectators" multiple times until the document is finalized.
- Publish to All (locked): Generates a PDF file which is accessible to all project attendees, including bidders. After you "Publish to All," you cannot edit the document without changing the status back to "Publish to Spectators" or "Unpublish."
- Unpublish (editable): If a document has previously been published, unpublishing it removes the document from view in the Connections and Projects tree and the project detail window. The status of unpublished documents appears in bold red type on document lists.
- Choose File > Exit to close the Document Editor window.
Related Topics
Project Documents
Editing a Project Document
Using the Document Editor