You can perform the following Document-related tasks from the Document Editor window:
»To add a chapter
- Select the spot in the Document tree where you want to insert a new chapter and click the add chapter button
 on the toolbar. Iasta SmartSource inserts a text field in the tree
 - Iasta SmartSource inserts a text field in the tree for you to enter the name of the chapter. Enter the name and press the Enter key on your keyboard or click outside of the text field.

- You can move the chapter to a new location in the tree by dragging and dropping or you can use the arrow keys
 to move the chapter up or down to the desired location in the Document tree.
NOTE: To edit a chapter or section name, select the name you want to edit in the Document tree and click on the toolbar. The name field becomes available to edit. Edit the name in the available space, then press the Enter key on the keyboard or click outside of the space.
»To add a section
- Select the location in the Document tree where you want to insert the new section and click the new section button
 on the toolbar.
 - Iasta SmartSource inserts a text field in the tree for you to enter the name of the section. Enter the name and press the Enter key on your keyboard or click outside of the text field.
- You can move the section by dragging and dropping in the Document tree or you can use the arrow keys to move the section to the desired location in the Document tree.
NOTE: To edit a chapter or section name, select the name you want to edit in the Document tree and click ![]() on the toolbar. The name field becomes available to edit. Edit the name in the available space, then press the Enter key or click outside of the space.
on the toolbar. The name field becomes available to edit. Edit the name in the available space, then press the Enter key or click outside of the space.
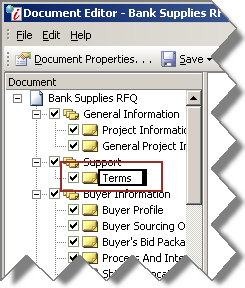
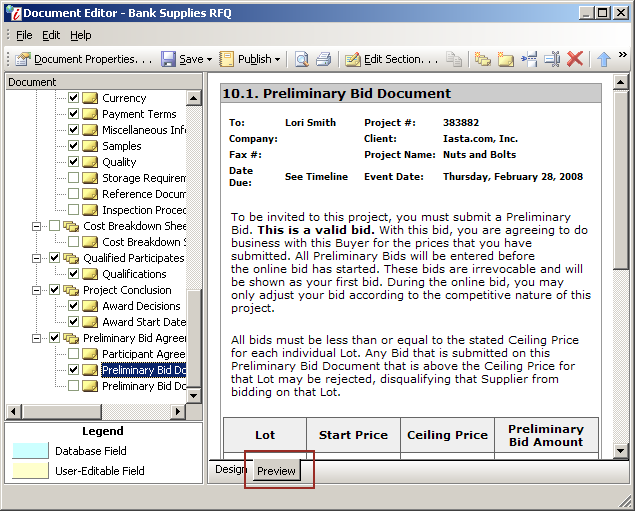
»To edit a section
- From the Document tree, select the section and click
 on the toolbar to open the section text window.

Document Editor Window
- You can modify any text in the yellow area. Text highlighted in green represents a database field that is populated from project fields entered in Iasta SmartSource includes for your project. If you delete a database field you cannot re-insert it. You cannot cut, copy, or paste
- Click
 on the toolbar.
NOTE: To edit a chapter or section name, select the name you want to edit in the Document tree and click ![]() on the toolbar. The name becomes an editable text field. Edit the name and press the Enter key on the clipboard or click outside of the text field.
on the toolbar. The name becomes an editable text field. Edit the name and press the Enter key on the clipboard or click outside of the text field.
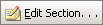
»To preview a chapter or section
- From the Document tree, select the chapter or section you want to preview and click the Preview tab at the bottom of the window.
Document Editor Window
»To delete a chapter or section
From the Document tree, select the chapter or section you want to delete and click the Delete button ![]() on the toolbar.
on the toolbar.
»To move a chapter or section
There are two ways to move chapters and sections to a different location in the tree:
- From the Document tree, select the chapter or section you want to move, then click the arrow buttons to move your selection up or down the tree
- From the Document tree, click the chapter or section you want to move and drag it to a new location.
»To spell check the document
- From the Document tree, select the chapter or section node where you want to begin spell checking and click
 on the toolbar. The Spelling window appears and stops at the first misspelled word.
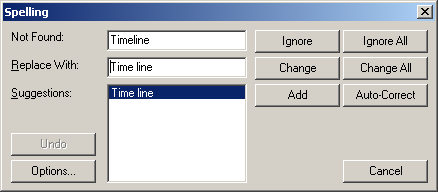
Spelling Window
- Click one of the following:
- Ignore - Ignores this instance of the Not Found word(s).
- Ignore All - Ignores all instances of the Not Found word(s).
- Change - Changes this instance of the Not Found word to the word(s) in the Replace With field or the Suggestion you selected.
- Change All - Changes all instances of the Not Found word to the word(s) in the Replace With field or the Suggestion you selected.
- Add - Adds the word in the Not Found field to your dictionary.
- Auto-Correct - Changes this instance of the Not Found word to the word(s) in the Replace With field, AND adds the Not Found word and the word(s) in the Replace With box as an "auto-correct pair" to your dictionary for future reference.
»To preview the document
This procedure enables you to view the document as it will appear to project attendees. We recommend that you preview a document before and after you insert page breaks.
- Click
 on the toolbar to open the Print Preview window.
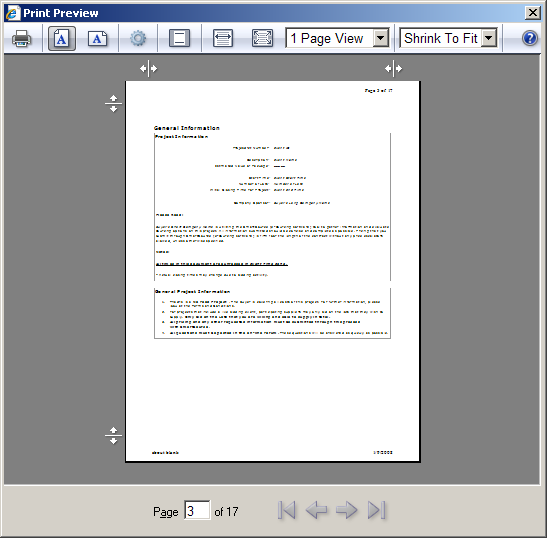
Print Preview Window
- Page through the document to check pagination, etc.
- Click
 on the toolbar to print the document or close the Print Preview window.
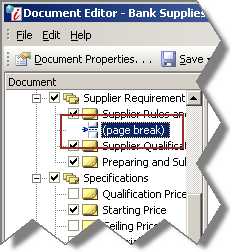
»To insert a page break
- From the Document tree, select the location where you want to insert the page break.
NOTE: The page break will be inserted immediately before the selected chapter or section or chapter or section node where you want to begin spell checking.
- Click the page break button
 on the toolbar. The page break appears in the tree.
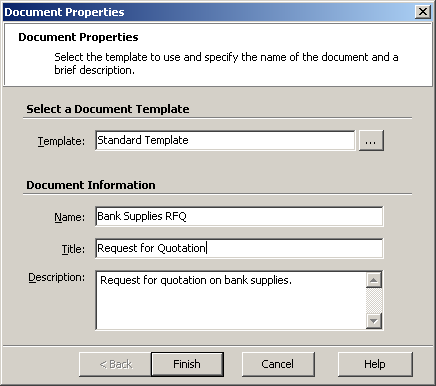
To Edit Document Properties
- Click
 on the toolbar to open the Document Properties window.
Document Properties window
- Edit the following fields:
- Title - This information populates the Document Title database field which may be used elsewhere in the document.
- Name - The document name appears on the project detail window. If the document is published, the name will appear as a link to the document in your PDF reader.
- Description - The description appears below the document name on the Project Details window.
»To save the document
Click ![]() on the toolbar and select Save Document. After you save a document, its name and description appear in the Connections and Projects tree and the Project Detail page, but bidders cannot access it unless it is published.
on the toolbar and select Save Document. After you save a document, its name and description appear in the Connections and Projects tree and the Project Detail page, but bidders cannot access it unless it is published.
»To save the document template
Click ![]() on the toolbar and select Save Template. Iasta SmartSource overwrites the previously saved version of the template in the Document Library with your changes.
on the toolbar and select Save Template. Iasta SmartSource overwrites the previously saved version of the template in the Document Library with your changes.
»To save the document as a template
- Click
 on the toolbar and select Save Template As.
 - Enter a name for the new template.
Related Topics