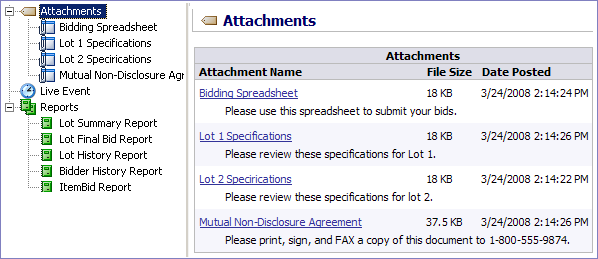
To add an attachment to a project you must upload it to Iasta SmartSource. When you add an attachment, the default setting is for it to be published but you can choose to make it unpublished. Published attachments are available to all project attendees as soon as the project is published. Unpublished attachments are only visible to sponsor company project attendees.
»To upload an attachment
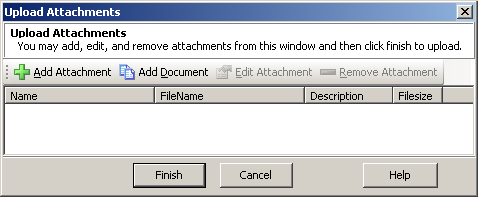
- Select and expand the project in the Connections and Projects tree, open the Edit Project menu on the toolbar, choose
 Attachments, and select Add Attachment to open the Upload Attachments window.
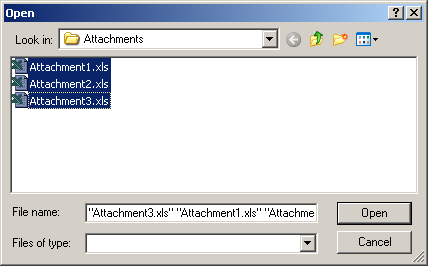
- To attach a file to the project, click
 on the toolbar, select one or more files to attach, then click Open.
NOTE: To select several files at once, click the first file, press CTRL + SHIFT on the keyboard and click the last file, or press the SHIFT key and click multiple individual files.
Open Window
To attach a file from the Iasta SmartSource Document Library, click ![]() on the toolbar, select a file from your Document Library, then click Finish.
on the toolbar, select a file from your Document Library, then click Finish.
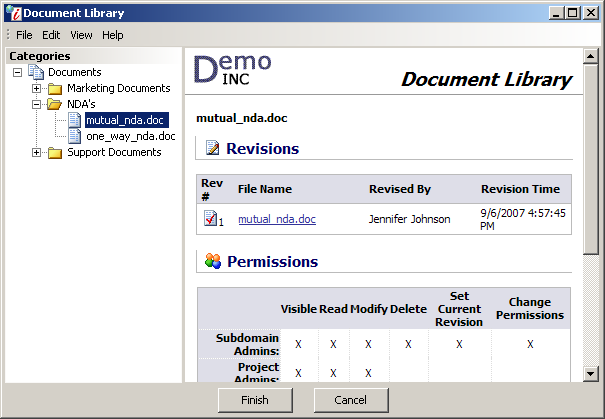
Document Library Window
The Upload Attachments window appears showing the selected files.
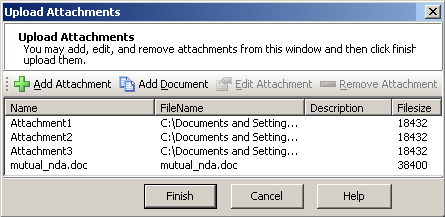
Upload Attachments Window
- To name and describe an attachment, select a file and click
 on the toolbar to open the Attachment Properties window. You can edit the Name and Description fields and choose whether the attachment is published (ready to be viewed by both sponsor and bidder attendees as soon as the project is published) or unpublished. The status of unpublished attachments appears in bold red type on attachment lists. Click Finish to save your changes and return to the Upload Attachments window.
 - Click Finish. Smart Source uploads the document, scans it for viruses, and places it in the Attachments branch of the Connections and Projects Tree.
Iasta SmartSource Desktop Window
Related Topics
Publishing & Unpublishing Attachments