The following types of documents and templates are stored in the Document Library and organized into the appropriate folders in the Categories tree:
- Documents
- Document Templates
- Survey Templates
- E-mail Templates
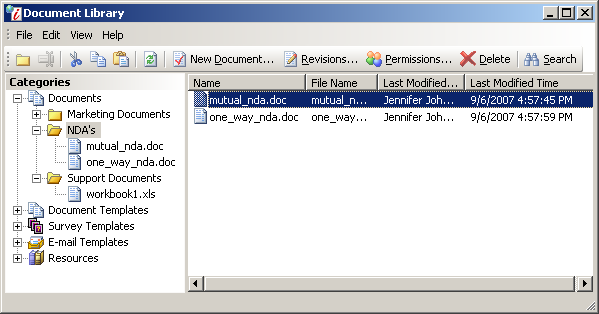
Document Library Window
»To add a folder
- Select and expand the connection in the Connections and Projects tree and click
 on the toolbar to open the Document Library.
 - Place your cursor in the Categories tree and click
 on the toolbar to create a new folder in the tree.
 - Type the folder name in the text field provided and click outside the Categories tree to close the text field.
- Drag and drop the folder to the desired place in the Categories tree.
»To copy/move a folder, template, or document
- Select a connection in the Connections and Projects tree and click on the toolbar to open the Document Library.
- In the Categories tree, click the item you want to move
- Drag the item with your cursor to where you want it to go and release the left mouse button.
- Iasta SmartSource prompts you to choose whether you want to "Copy Selected Items," or "Move Selected Items."
»To rename a folder
- Select a connection in the Connections and Projects tree and click on the toolbar to open the Document Library.
- From the Categories tree, select the folder you want to rename.
- Click
 on the toolbar to open a text field in the tree for editing the folder name.
 - Enter the new folder name in the text field and click outside the Categories tree to close the text field.
»To set folder permissions
When you set permissions for a folder, all new documents or templates created in the folder will inherit the folder's permission properties.
- Select a connection in the Connections and Projects tree and click on the toolbar to open the Document Library.
- From the Categories tree, select the folder and click
 to open the Document Permissions window.
 - Choose "Specify custom permissions for this item".
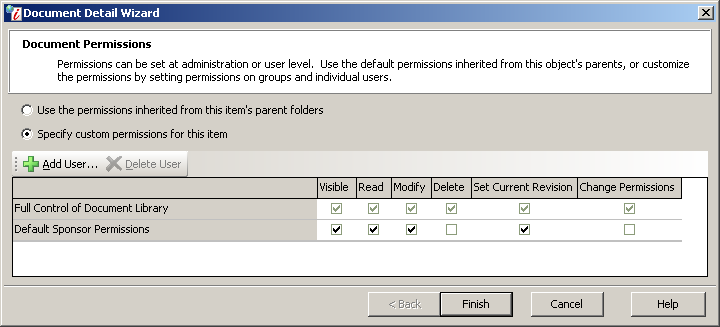
Document Permissions Window
- To give additional users individual permissions, click
 to open the Companies and Users window. Select the company in the upper-right panel then double click the user you want to add in the lower-right panel and you will return to the Document Permissions window.
 - Select the appropriate permission check boxes.
- Visible: View the title of the document exists in the Document Library (Users must have Read permission to view the contents of the document.)
- Read: Download and read the document.
- Modify: Edit the document and upload a new revision into the library.
- Delete: Delete the created document.
- Set Current Revision: Set the current revision, or version, of the document.
- Change Permissions: Change the permission settings for the document.
- Click Finish.
»To delete a folder
- Select a connection in the Connections and Projects tree and click on the toolbar to open the Document Library.
- From the Categories tree, select the folder you want to delete and click
 .
.
Related Topics